Building a 3-Node Proxmox Cluster on a Laptop: Why Not?
The Problem: "Poor" Homelab but want to play big?
You want to learn about High Availability (HA), experiment with Live Migration, or deploy a standard Kubernetes cluster? But the reality is you only have:
- 1 (quite powerful) Laptop.
- 1 Raspberry Pi sitting in the corner.
- And... that's it.
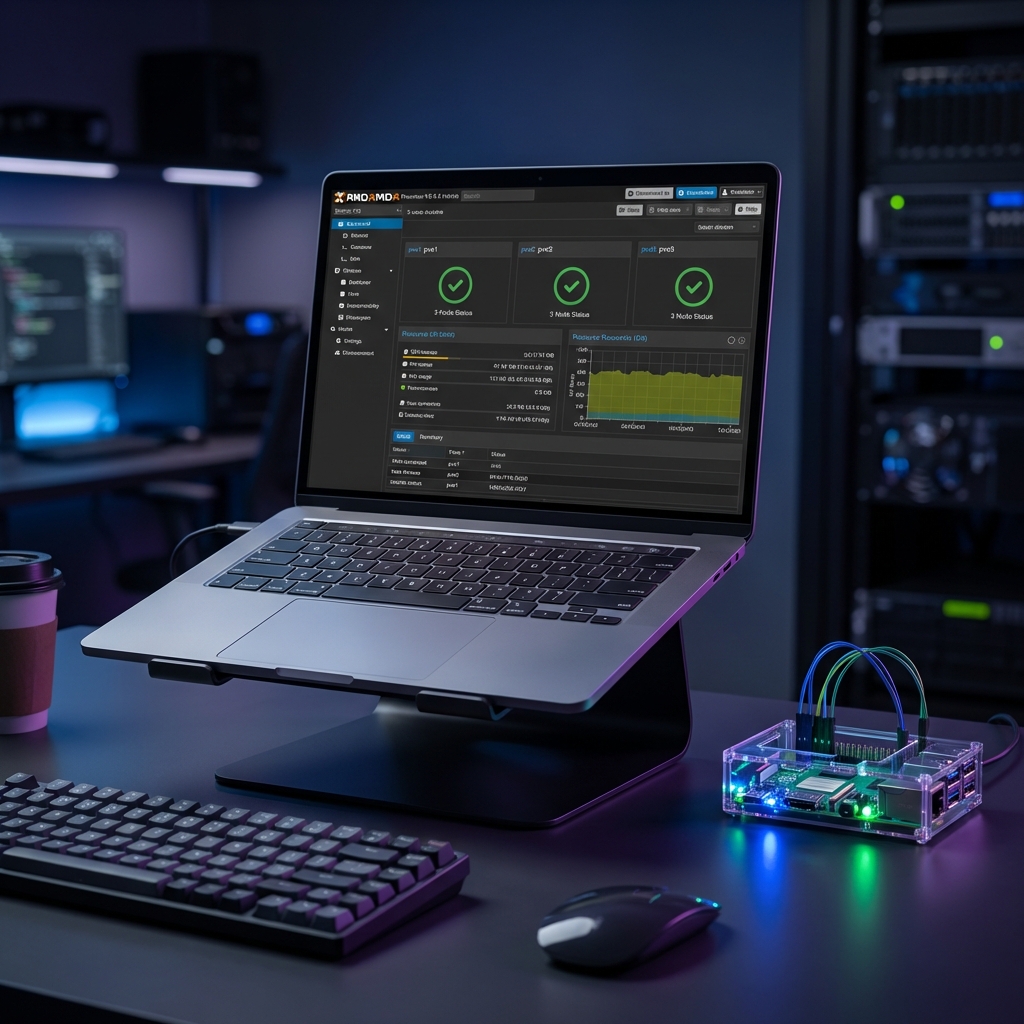
Don't worry, I was there too. And I successfully built a 3-Node Proxmox Cluster to simulate a miniature Data Center right at home.
System Architecture
To create a 3-node cluster (minimum number to reach Quorum for stable HA), I used Nested Virtualization architecture:
- Node 1 (Physical): The main Laptop.
- Node 2 (Virtual): A Proxmox VM running inside... Proxmox (or VMware/VirtualBox) on the Laptop.
- Node 3 (Physical/Virtual): The Raspberry Pi (installing Proxmox VE ARM version or just participating as a Quorum Device - QDevice).
In my current setup, I run 3 Proxmox VMs on VMware Workstation on Windows laptop for easy management.
Hardware Configuration (Laptop)
- CPU: Requires virtualization support (VT-x/AMD-V).
- RAM: Minimum 16GB (32GB is ideal). Each virtual Proxmox node needs at least 2GB, not counting RAM for VMs running inside.
- Storage: High-speed NVMe SSD (critical so IO doesn't bottleneck).
Implementation Steps
Step 1: Prepare Network (Bridge Networking)
Networking is the biggest headache. For nodes to see each other and the LAN, you need to configure Bridge Network.
- On VMware, set network adapter of VMs to Bridged.
- Assign Static IP for each node:
- Node 1:
192.168.1.101 - Node 2:
192.168.1.102 - Node 3:
192.168.1.103
- Node 1:
Step 2: Install Proxmox VE
Install as usual on VMs. Note to enable Nested Virtualization in VM CPU settings so child VMs (VMs inside virtual Proxmox) can start.
(On Intel enable VT-x/EPT, on AMD enable SVM)
Step 3: Create Cluster
- SSH into Node 1:
pvecm create my-homelab-cluster - Get join information:
pvecm connect 192.168.1.101 - SSH into Node 2 and Node 3, run the join command just retrieved (enter Node 1 root password).
Step 4: Setup Shared Storage (Optional)
To use Live Migration, you need Shared Storage (NFS/iSCSI/Ceph).
- I leverage a folder on Windows, shared via NFS protocol.
- Add NFS Storage to Cluster in
Datacenter > Storagemenu.
Real World Experience
The result was surprising! I could:
- Live Migrate a running LXC container (web server) from Node 1 to Node 2 without dropping a single packet.
- Unplug (power off VM) Node 1, critical VMs automatically restart on Node 2 (HA works!).
- Deploy a 3-node Kubernetes cluster (1 master, 2 workers) distributed across 3 Proxmox nodes.
Conclusion
No need for expensive Rack Servers, you can absolutely practice advanced Infrastructure skills with just your current laptop. Building and debugging networks (vSwitch, Bridge) in this environment brings extremely valuable knowledge for real-world work.
Happy "tinkering" with your Homelab!